On this page
- Create an account
- Find clubs near you
- Join a club and pay dues
- Buy club merchandise
- Discover and sign up for rides
- Use recommendations
- Manage your rides
- Set up your profile
- Upload a profile photo
- Manage email notifications
- Protect your account
- Control profile privacy
- Use ride tools
- Contact a club
- Share ride photos and videos
- Share a ride
- Connect with friends
1. Create an account
Create a free account so you can join clubs, sign up for rides, manage your profile, and see ride details that are limited to members. You can sign up with an email and password or with your Google account.
If you sign up with an email and password, Paceline sends a verification link to that address. Verify it so password resets, security notices, and required club notifications can reliably reach you.
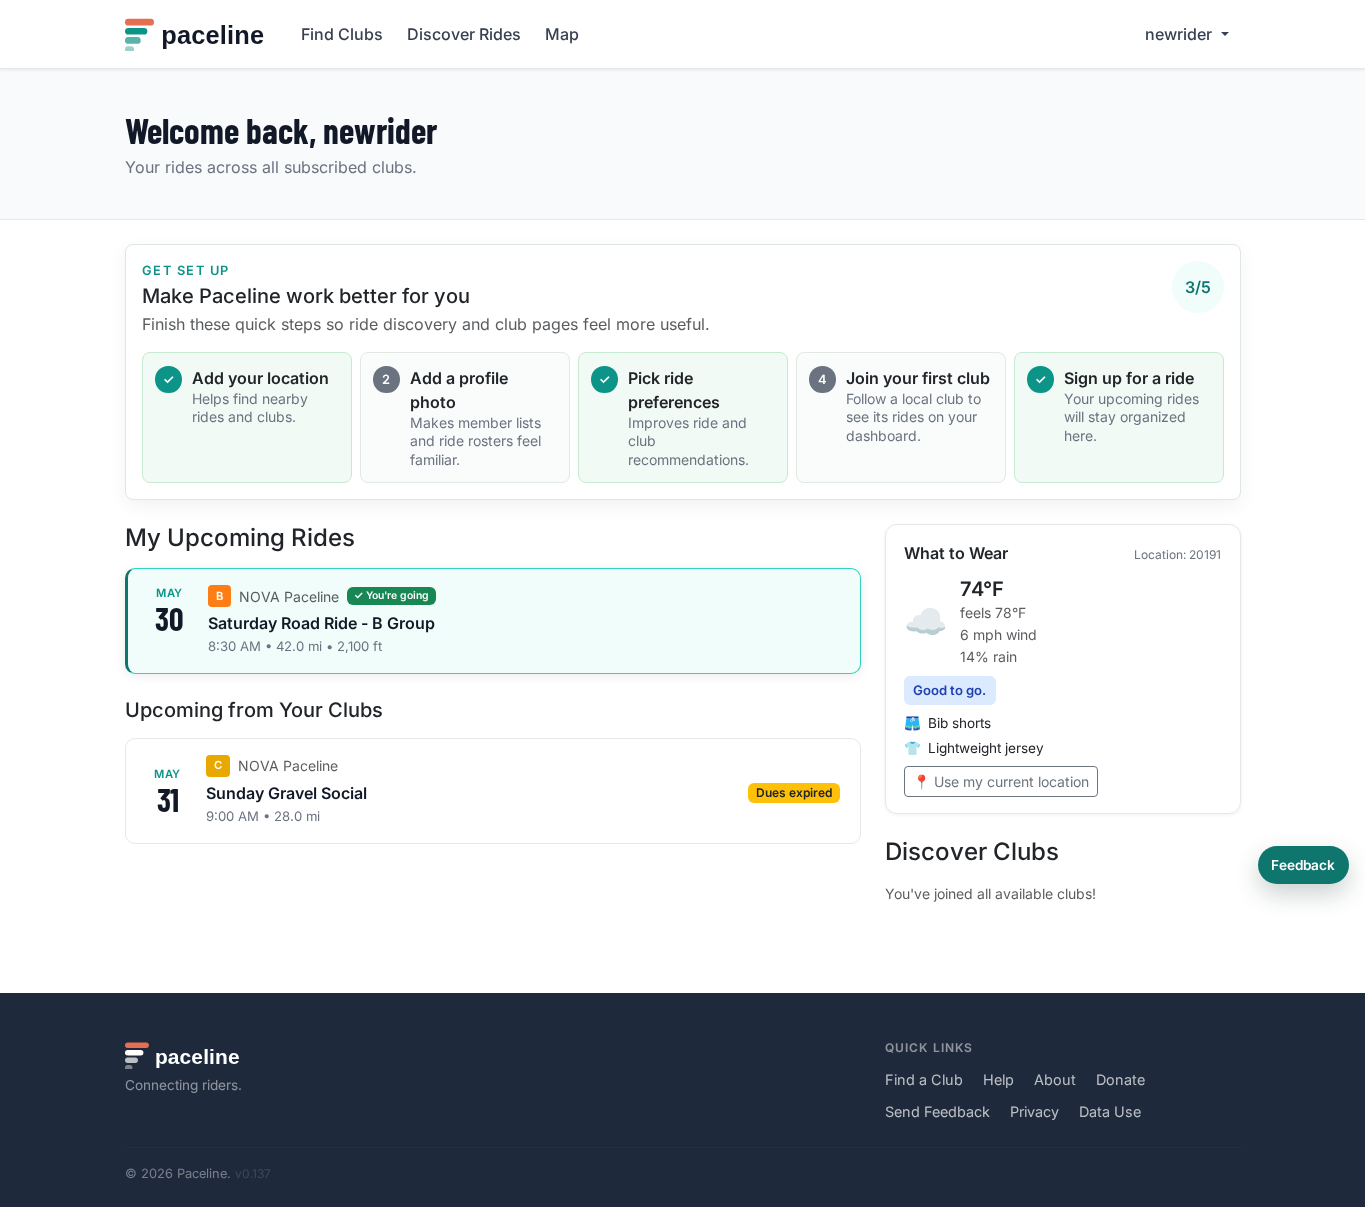
New accounts see a short setup checklist on the dashboard. It points you to the highest-impact first steps: add a location, upload a profile photo, choose recommendation preferences, join a club, and sign up for a ride.
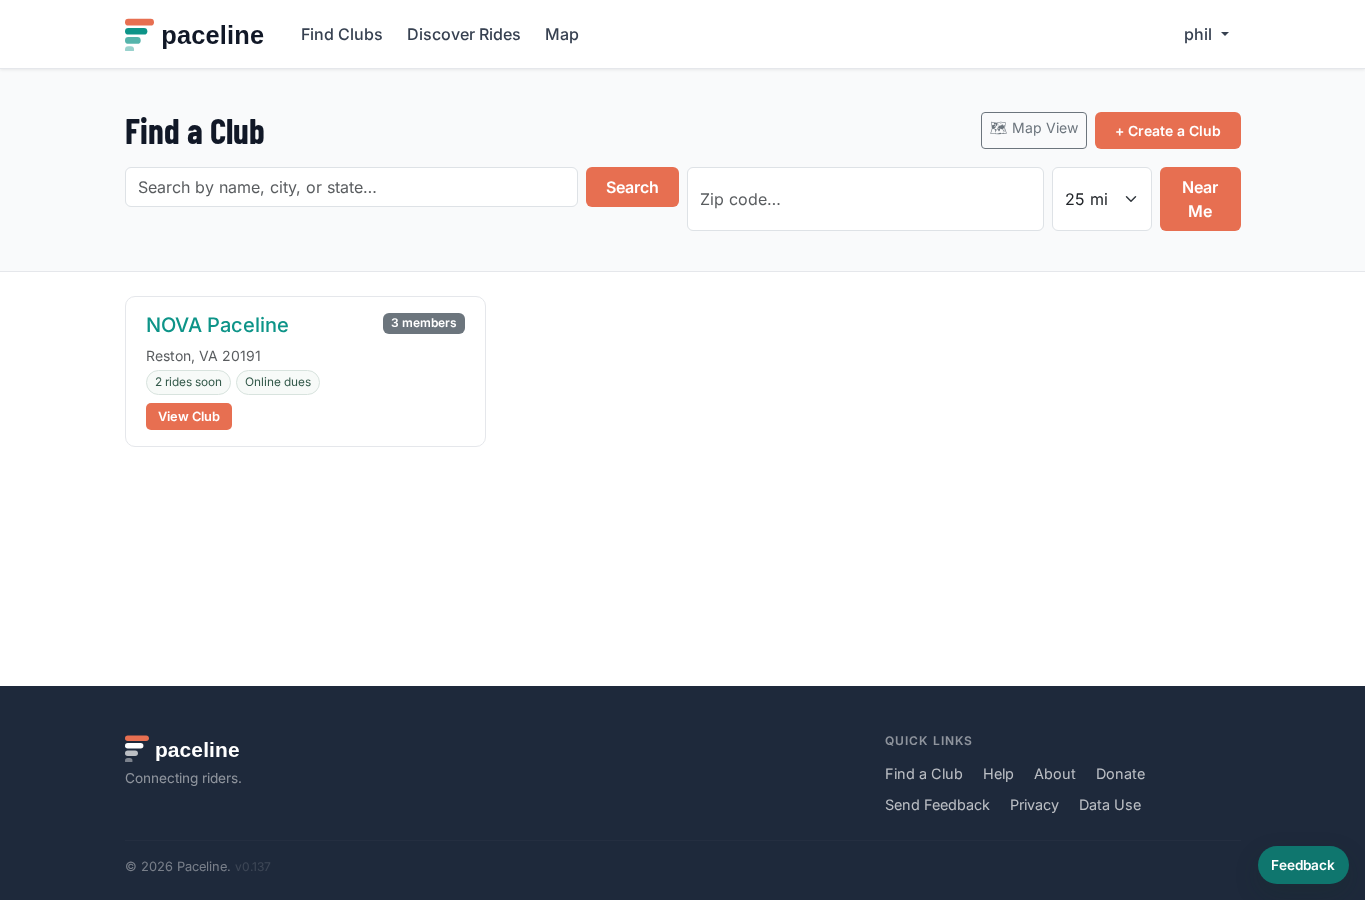
2. Find clubs near you
Use Find Clubs to search by name, city, state, or zip code. Use Map to browse clubs visually.
Open a club page to see its description, upcoming rides, leaders, safety information, and links.
3. Join a club and pay dues
On a club page, choose Join Club. Some clubs approve members automatically. Others review requests manually before you become an active member.
Some clubs also require a waiver before you can sign up for rides. If a waiver is required, Paceline will show you the next step.
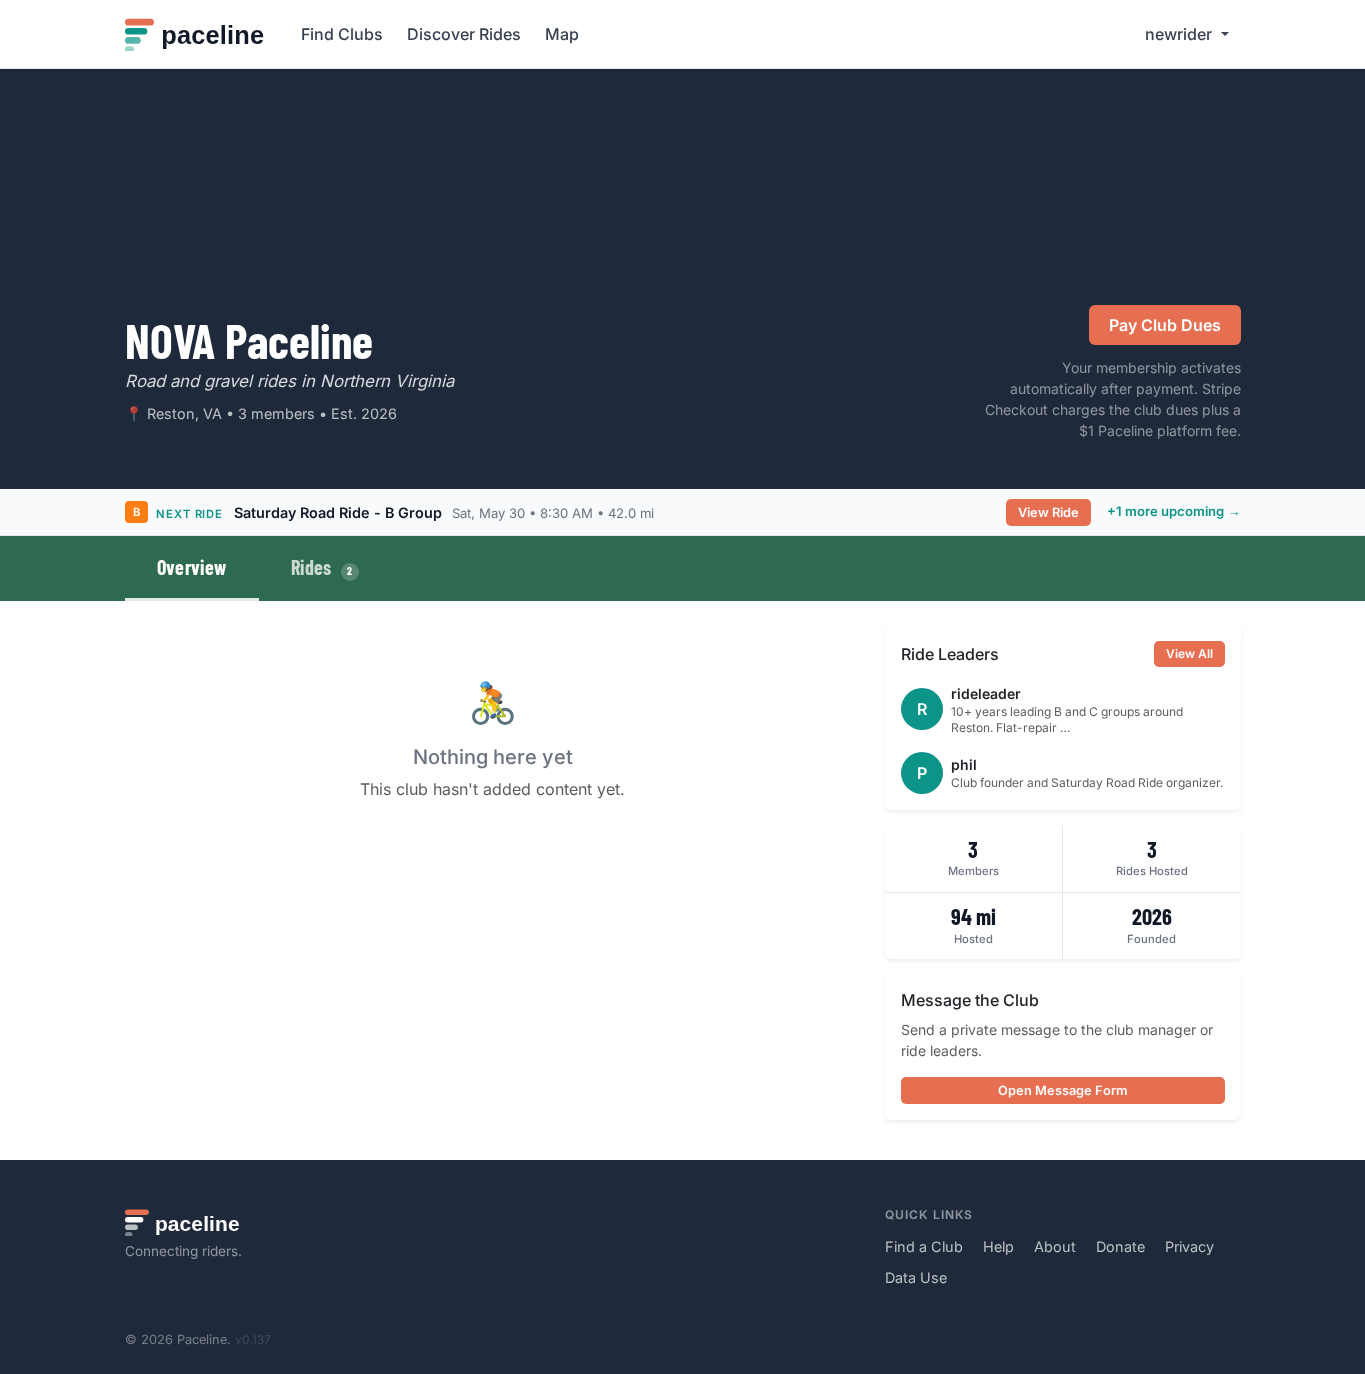
When a club requires dues
If the club requires paid dues, your membership starts in a pending payment state after joining. You will see a Pay Club Dues button at the top of the club page.
Clicking that button opens Stripe Checkout — a secure payment page hosted by Stripe, not Paceline. Enter your card details and complete the payment. Stripe processes the charge on the club's Stripe account and notifies Paceline immediately. Paceline marks your membership active automatically — you do not need to wait for a club admin to confirm.
The amount you see at Stripe Checkout is the club dues amount plus a separate $1 Paceline platform fee. For example, if the club sets dues at $45, Stripe Checkout charges $46 total.
Renewing your membership
Paceline shows the Pay Club Dues button again when your membership expires or is within 30 days of expiring. You can renew early at any time the button is visible.
4. Buy club merchandise
Some clubs list jerseys, shirts, or other merchandise in a club shop. Open the club page and choose Shop when the club has items available.
Shop checkout is handled by Stripe. The item amount goes to the club's Stripe account and Paceline adds a separate $1 platform fee at checkout. If the club enables Stripe Tax or shipping, taxes and shipping may also be added during checkout.
Clubs manage their own fulfillment, taxes, refunds, shipping, and product questions. Contact the club directly if you have a question about an item, delivery, pickup, or refund.
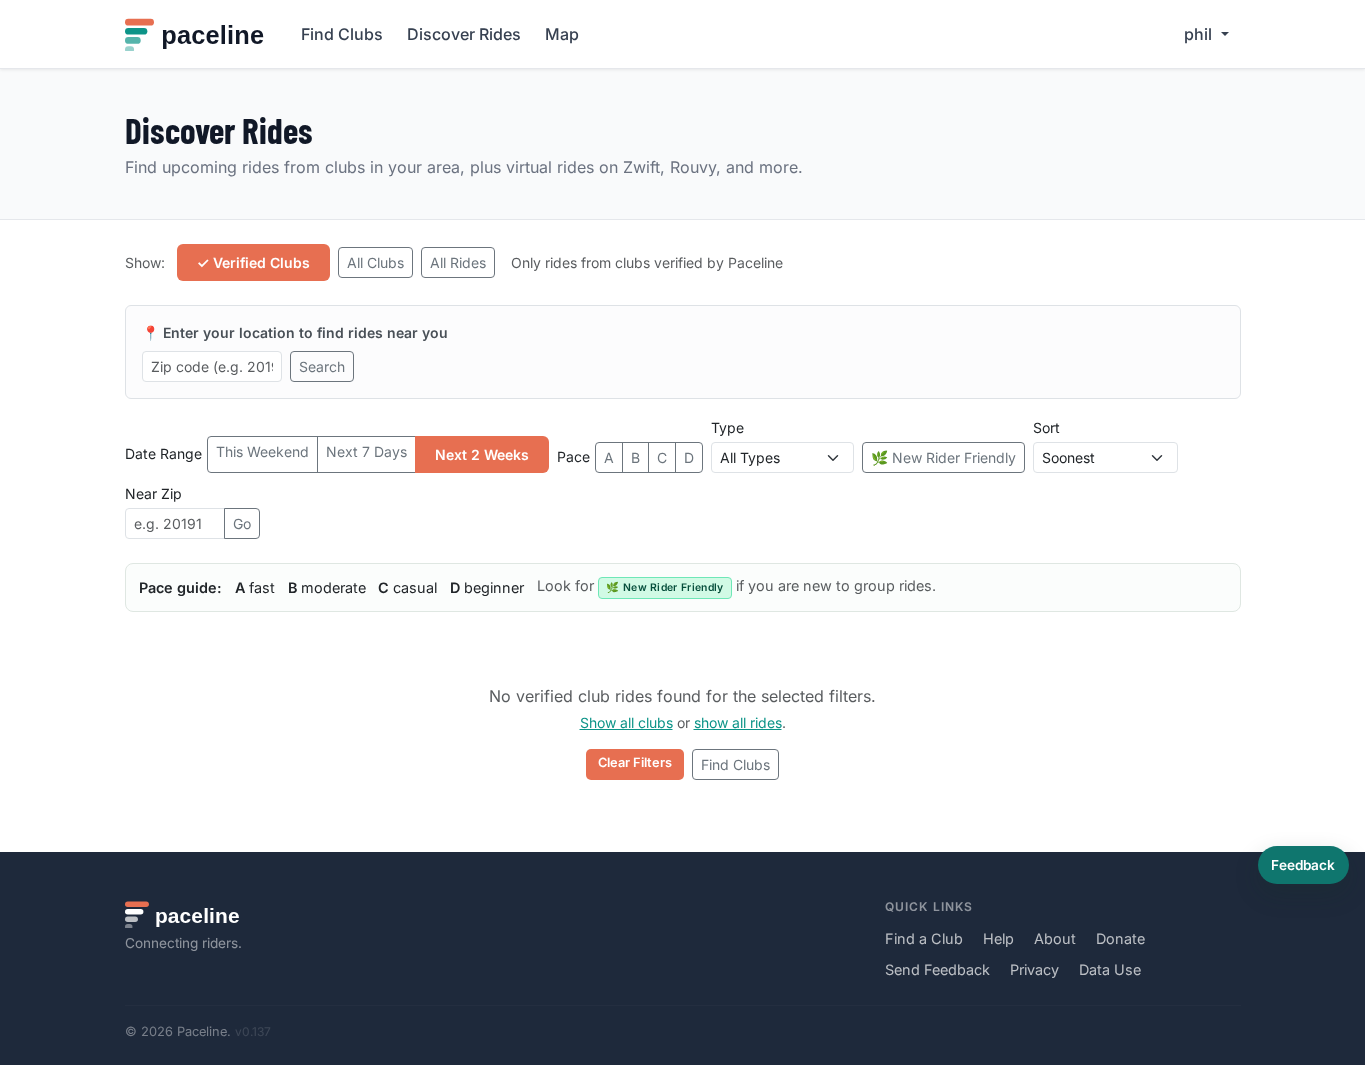
5. Discover and sign up for rides
Use Discover Rides to browse upcoming rides across clubs and public user-created rides. Filter by date range, pace, ride type, or zip code.
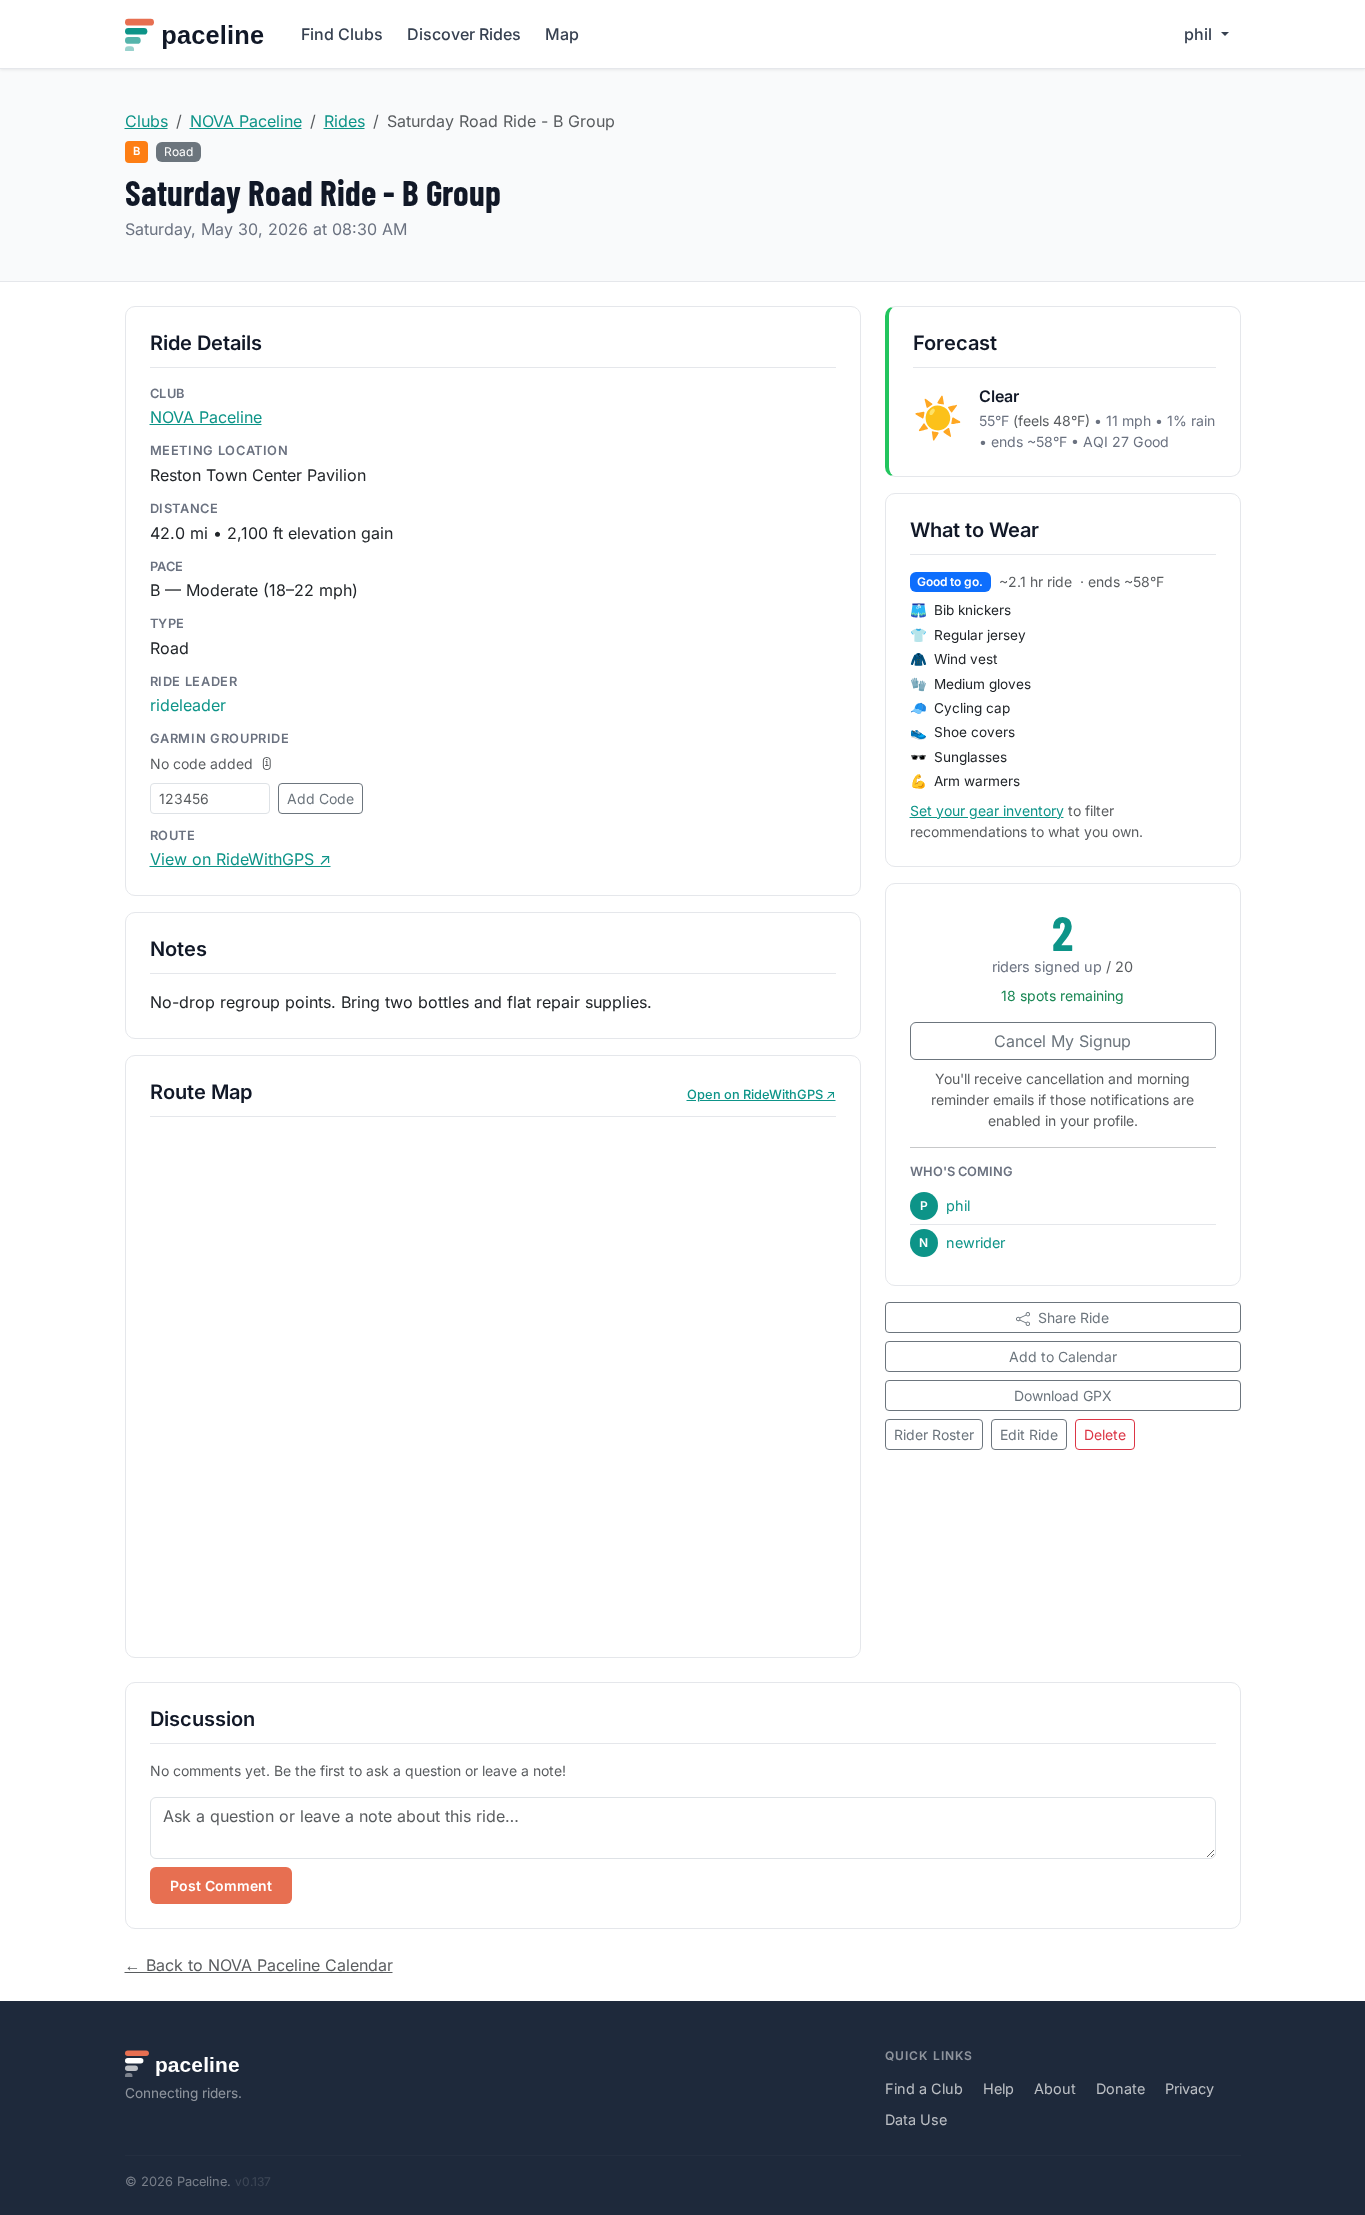
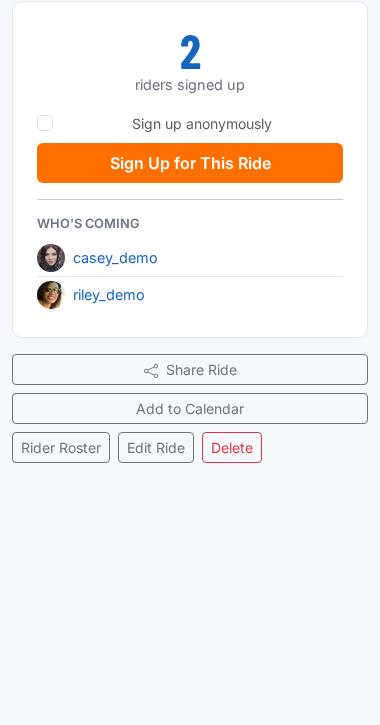
Open a ride page to review the start time, distance, pace, meeting location, route details, signup count, weather, and discussion.
The who's coming list shows signed-up riders with their profile photo and username so you can see familiar faces before the ride.
6. Use recommendations
Signed-in riders may see a Recommended for You section on the dashboard and can sort Discover Rides by Recommended. Paceline uses simple signals like your saved location, clubs, ride signup history, ride type preferences, and friend activity.
Recommendations avoid rides you are already signed up for and avoid recommending another ride on a day when you already have a ride scheduled. They also respect your ride type preferences, so virtual rides are not suggested unless you choose virtual rides or have ridden them before.
You can hide individual recommendations with Not for me or hide the dashboard section entirely. Open Profile → Recommendations to turn recommendations off, hide them from your dashboard, choose which signals Paceline can use, or explicitly select ride types such as road, gravel, or virtual.
7. Manage your rides
Your home page shows upcoming rides from your clubs and rides you have joined. Use My Rides to create personal rides, manage private invites, or review rides you own.
8. Set up your profile
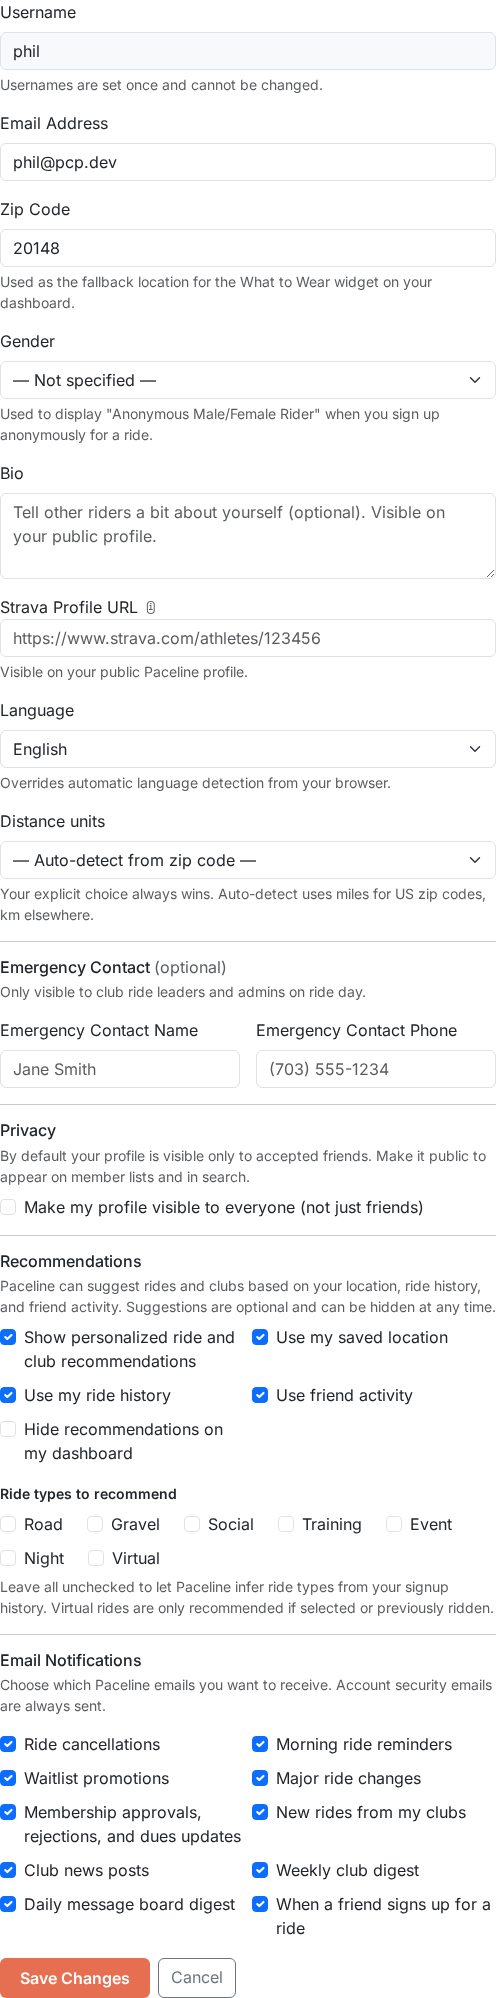
Keep your profile current from Profile in the top navigation. Add your zip code for better ride recommendations. Other optional details include emergency contact information, a gear inventory, and a Strava connection.
Profile settings are grouped into tabs: Account, Privacy, Recommendations, and Notifications. Links from dashboard setup open the right tab directly.
The Club Memberships section on your profile shows all the clubs you have joined and each membership's current status, so you can track which memberships are active or expiring soon.
Change distance units (miles vs km)
Paceline can show distances and elevations in miles and feet (US) or kilometres and metres (metric). Your preference appears on ride cards, calendars, your profile stats, and the discover page.
To change units, open Profile → Distance units and choose Miles (US) or Kilometres (metric). Save the form. All distance and elevation displays update immediately.
If you leave the field set to Auto-detect from zip code, Paceline uses miles for US zip codes (five all-numeric digits) and kilometres everywhere else. Your explicit choice always overrides auto-detection — even if you have a US zip code on file.
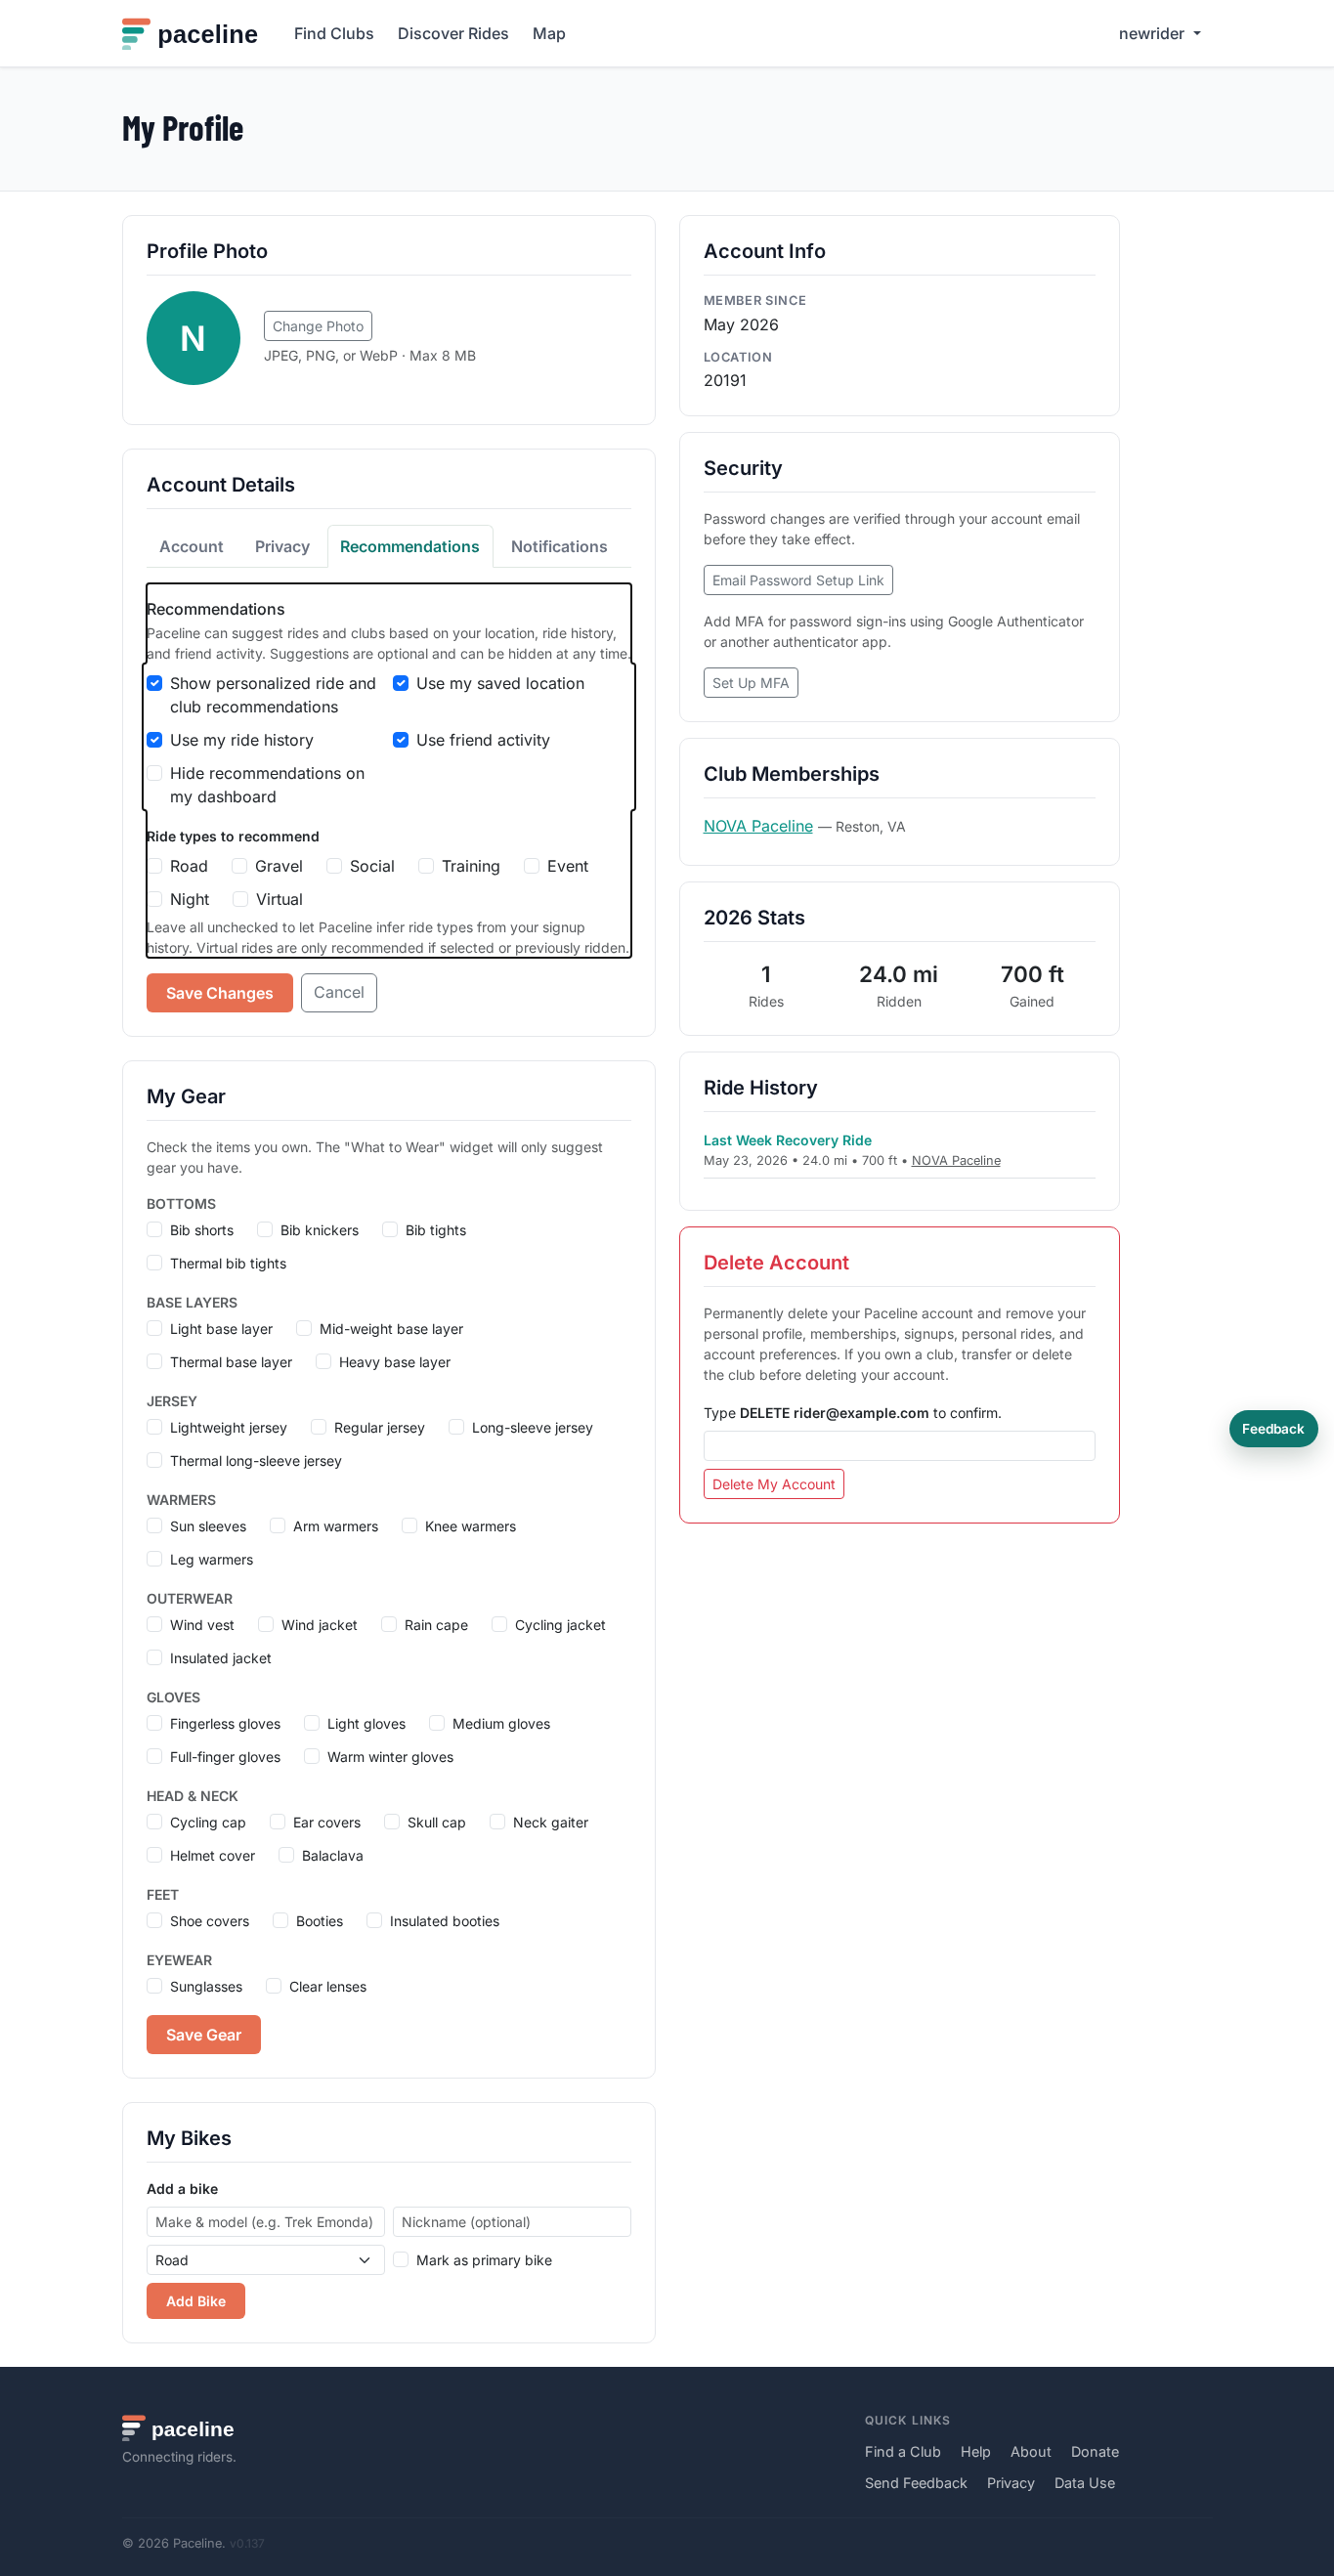
9. Upload a profile photo
A profile photo appears as a circular avatar next to your username everywhere on Paceline — the who's coming list on ride pages, the ride leaders section, and club member listings.
To upload a photo, open Profile and click Change Photo in the Profile Photo card. Choose a JPEG, PNG, WebP, or GIF file from your device.
A crop tool opens automatically. Drag the image to center your face inside the circular preview, then click Save Photo. Paceline crops the image to a square, resizes it, and stores it securely. Your avatar updates immediately.
If you do not upload a photo but have connected Strava, Paceline uses your Strava profile photo as a fallback. If neither is available, your username initial appears in a green circle.
To remove your profile photo, click Remove photo beneath the avatar. This reverts to the Strava fallback or the initial letter.
10. Manage email notifications
Paceline notifications are sent by email. Open Profile and use the Email Notifications section to choose which optional messages you want to receive.
You can turn on or off ride cancellations, morning ride reminders, waitlist promotions, membership updates, new rides from clubs you have joined, club news posts, weekly club digests, and daily message board digests.
Some account and security emails are always sent when needed, such as password reset links, club invitations, and ownership transfer confirmations. These are required so your account and club access can work correctly.
Message board activity is bundled into a daily digest instead of sending a separate email for every post, reply, or mention. This keeps club conversations useful without filling your inbox.
11. Protect your account
You can sign in with an email and password or with Google. Google-created accounts still use one Paceline username, and the first Google sign-in asks you to choose that username before the account is finished.
Password changes are verified by email. Open Profile, then use Email Password Setup Link to set or reset your password. The link is sent to your account email.
If you change your account email from Profile, Paceline keeps your current email active until you verify the new one. A banner appears until the verification is complete.
If you sign in with a password, you can add MFA from Profile. Scan the QR code with an authenticator app, save the backup codes, and use one backup code only if you lose access to your authenticator app.
Unless you choose Trust this browser when signing in, Paceline requires a fresh sign-in after six hours for protected workflows.
You can permanently delete your account from Profile. If you own a club, transfer or delete that club first.
Use the Feedback button or the footer feedback link if something feels confusing, broken, or missing. Feedback goes to the Paceline superadmin inbox for review.
12. Control profile privacy
Profiles are private by default. When your profile is private, strangers cannot see your bio, Strava link, ride history, or upcoming rides. Accepted friends and superadmins can still view details needed for site operation.
To make your profile public, open Profile and enable Make my profile visible to everyone. Public profiles can show your bio, club memberships, ride history, upcoming signed-up rides, and Strava profile link.
To add Strava, paste your Strava athlete profile URL into
Strava Profile URL. It should look like
https://www.strava.com/athletes/123456. Open Strava, go to
your profile page, and copy the browser URL.
13. Use ride tools
Weather and gear suggestions
Ride pages show a forecast for the ride start time and, when conditions warrant attention, a weather or AQI callout. AQI is the air quality index; higher numbers mean worse air. Normal weather stays quiet — only high wind, heavy rain, poor air quality, or extreme temperatures are flagged.
Below the weather forecast you may see a What to Wear panel. Paceline looks at the forecast for the ride duration and suggests appropriate kit — for example bibs and a short-sleeve jersey on a warm morning, or thermal tights, a base layer, and a rain cape on a cold wet day. The verdict badge (green, yellow, or red) gives you a quick read on overall conditions. If you have added gear to your inventory on your Profile, the suggestions are filtered to items you actually own.
Add to calendar (ICS)
Every ride page has an Add to Calendar link that downloads
a standard .ics file. Open it on your device and your calendar
app (Google Calendar, Apple Calendar, Outlook, and others) will import the
ride with its title, date, start time, and meeting location pre-filled.

Download the route (GPX)
If the club admin has attached a GPX file to the ride, a Download GPX link appears on the ride page. Open it in your GPS device software, Garmin Connect, Wahoo, RideWithGPS, or any app that accepts GPX files to pre-load the route before you head out.
Ride comments
Signed-up riders can leave comments on a ride page — useful for carpooling questions, last-minute route notes, or a quick group check-in before the ride. Club admins can delete any comment; riders can only delete their own.
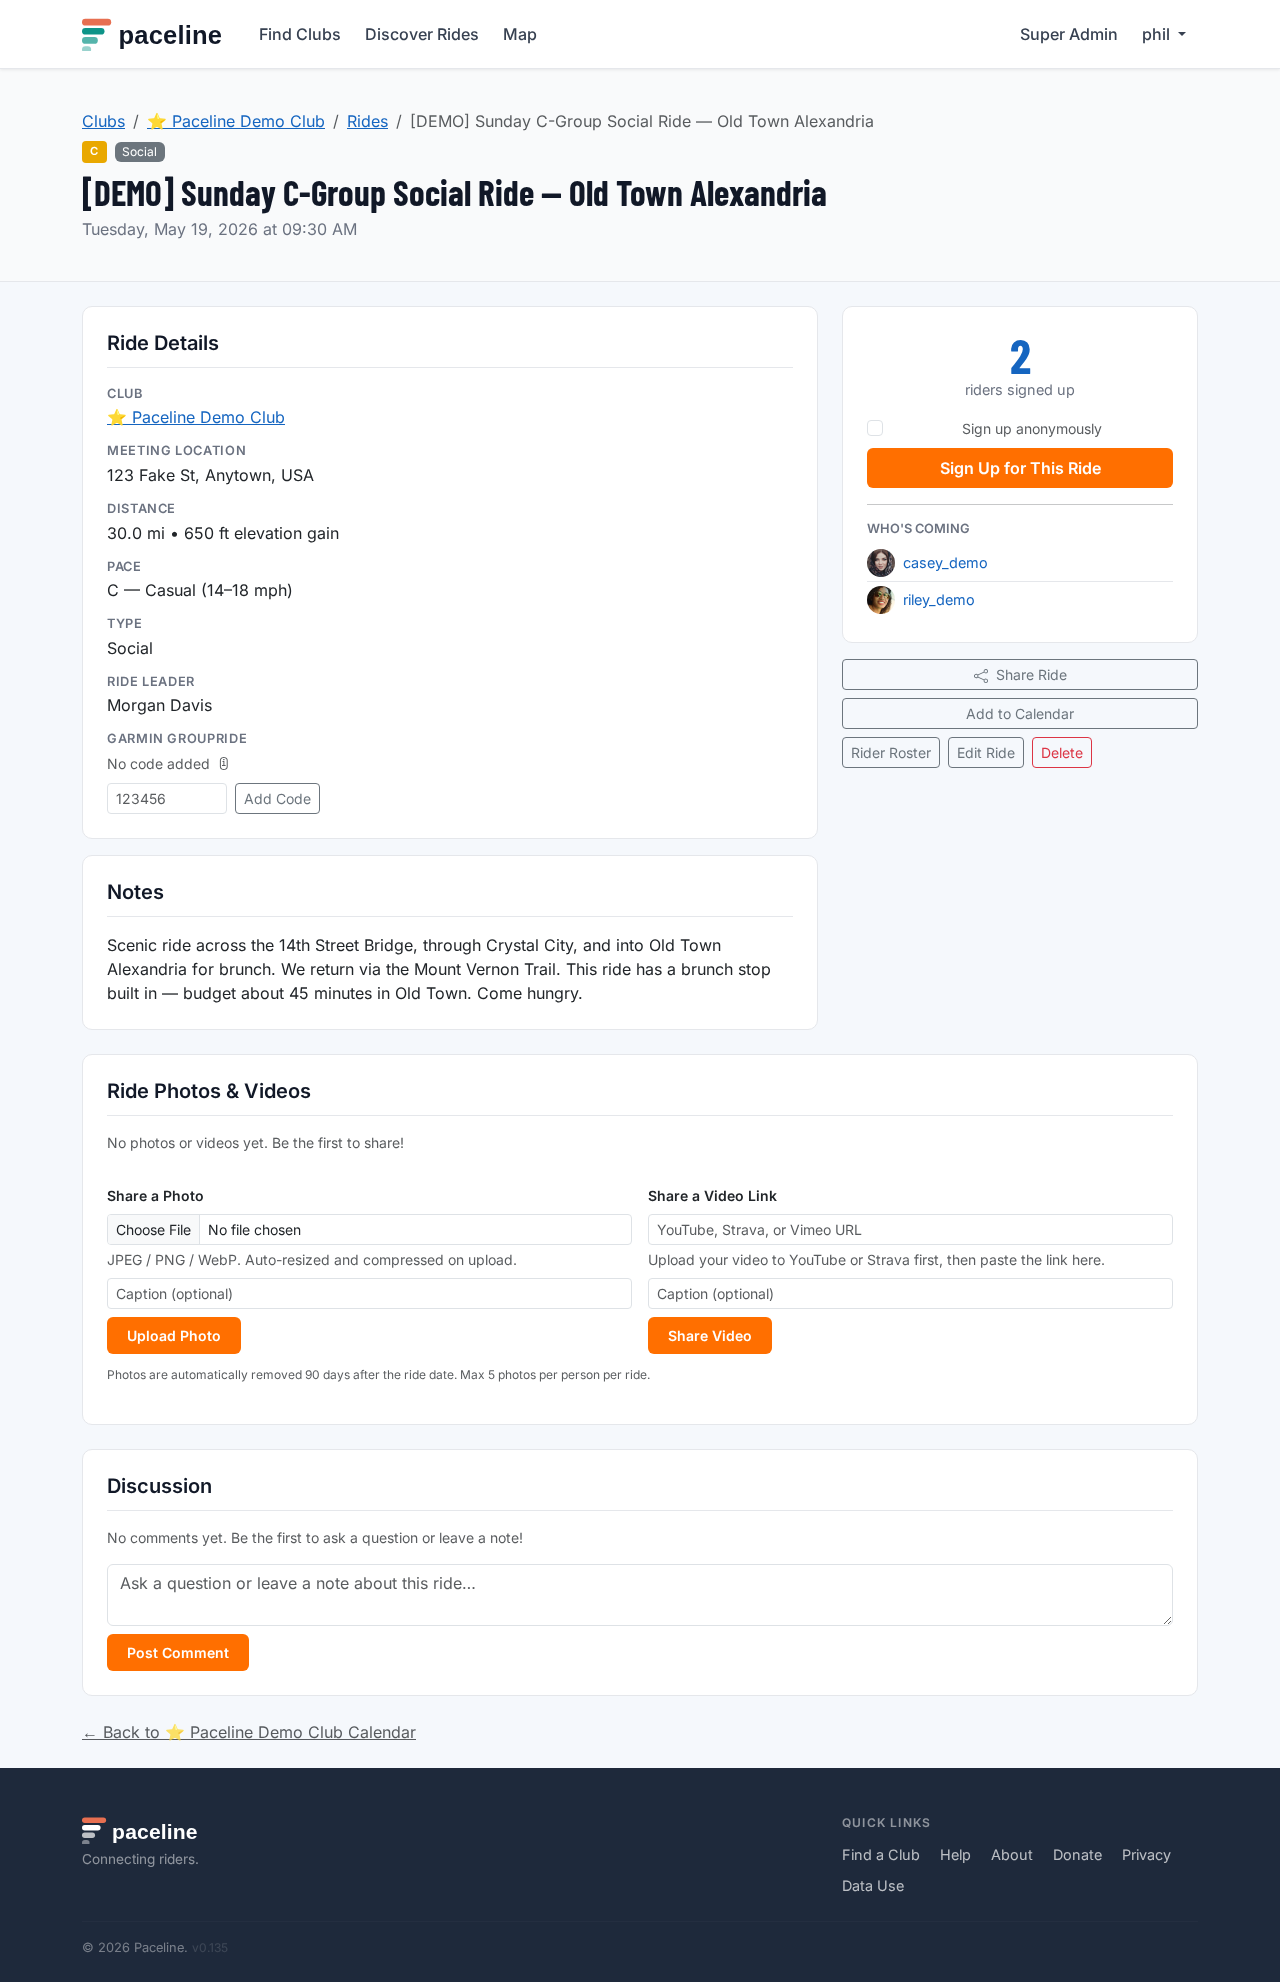
Garmin GroupRide
Some rides include a Garmin GroupRide Code — a six-digit code that lets compatible Garmin devices join the same GroupRide session. If the field is blank, any signed-up rider can add the code once the ride leader has one. After it is set, only the ride leader, ride manager, or club admin can edit it.
Waitlist
If a ride is full, Paceline adds you to the waitlist automatically. When a confirmed rider cancels, the next rider on the waitlist is promoted and receives a waitlist email if that notification is enabled.
14. Contact a club
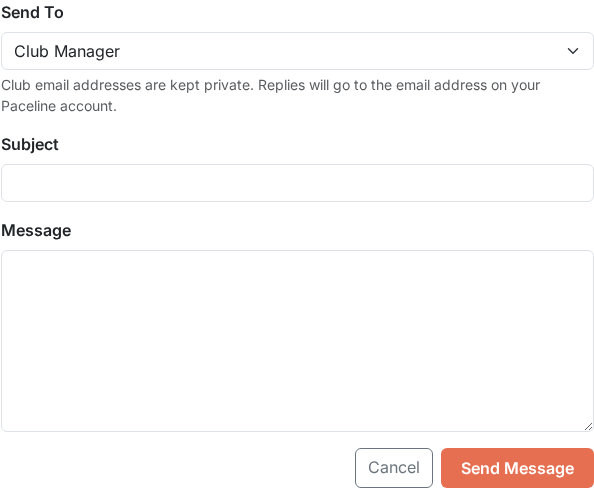
Every club page has a Contact tab in the navigation bar. Open it to send a message directly to the club's management team without having to find their email address separately.
Fill in a subject and your message, then click Send Message. Your name and email address are included automatically so the club can reply directly to you. You will receive a copy of your message as confirmation.
15. Share ride photos and videos
After a ride has taken place, members can share photos and video links on the ride page so everyone who attended can relive it — and those who missed it can see what they are in for next time.
Upload photos
Open the ride page after the ride date and scroll to the Ride Photos section. Click Add Photo, choose a JPEG, PNG, or WebP file from your device, and confirm the upload. Paceline resizes the image to a consistent width and stores it securely. Each member can upload up to five photos per ride.

Add a video link
Paste a YouTube, Vimeo, or Strava activity link into the Add Video Link field. Paceline embeds the video player directly on the ride page so others can watch without leaving the site.
Removing media
You can delete your own photos and video links at any time. Club admins can remove any member's media from their club's rides. Media is automatically removed from Paceline after 90 days.
16. Share a ride
Every ride page has a Share Ride button. Tap or click it to share a direct link to the ride.
- On a phone or tablet, tapping Share Ride opens your device's native share sheet so you can send the link by text, WhatsApp, email, or any other app installed on your device.
- On a desktop browser, clicking Share Ride copies the link to your clipboard. A small toast message confirms the copy. Paste the link wherever you want to share it.
Links shared to iMessage, WhatsApp, Slack, Twitter, or Facebook automatically show a rich preview with the ride title, date, distance, pace, and meeting location — so the recipient sees the key details without clicking through first.
17. Connect with friends
Paceline lets you connect with other riders as friends. Friends' upcoming rides appear in a dedicated section on your home dashboard so you can see what your regular riding partners are signed up for and join the same rides.
Send a friend request
Open another rider's public profile page and click Add Friend. They will receive a notification and can accept or decline. You can also withdraw a pending request by clicking Cancel Request before they respond.

Accept or decline requests
When someone sends you a request, you will see Accept and Decline buttons on their profile page. Accepting adds them to your friends list and makes their upcoming rides visible on your dashboard. Declining removes the request without notification.
Friends' rides on your dashboard
Once connected, a Friends' Upcoming Rides section appears on your home dashboard showing rides your friends have signed up for. This makes it easy to spot rides where familiar faces will be present and join if the route and pace work for you.
18. New Rider Friendly rides
Some rides are flagged as New Rider Friendly — a green badge that signals the group is welcoming and supportive of first-time road cyclists. Whether you just bought your first road bike, haven't ridden in years, or are new to group riding, these rides are a great place to start.
New Rider Friendly rides typically mean:
- No one gets dropped — the group rides together and waits at intersections.
- Ride leaders are happy to answer questions about gear, etiquette, or the route.
- The pace is relaxed and beginner-appropriate.
- It is a judgement-free zone — everyone was new once.
Finding New Rider Friendly rides
On the Discover Rides page, click the 🌿 New Rider Friendly filter button in the filter bar. The page will show only flagged rides. Click the button again to clear the filter. The badge also appears directly on each ride card so you can spot them at a glance while browsing.
